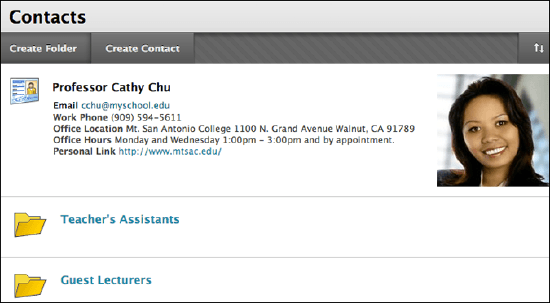
Use the contacts tool to add profile information about yourself and other staff for students. You can provide information about office hours, phone numbers, and other links to help students find the people who have important roles in your course.
You can use folders to organize the profiles. For example, create a teaching assistant folder and assign all TA contacts to it.
Create or edit a contact
- On the course menu, select Tools > Contacts. You can also find this page by going to Control Panel > Course Tools > Contacts.
- Select Create Contact. To edit a contact, select Edit in the item's menu.
- On the Create Contact page, provide the necessary Profile Information. The Office Location, Office Hours, and Notes fields have a 255-character limit.
- Select Yes to make the profile available to students. If you select No, none of the information provided on the page appears to students.
- Select Browse to search for an image to attach to the profile (optional). This image is included next to the profile on the Contacts page. The image size must be 150 x 150 pixels.
- If you would like to add a Personal Link, type the URL for a contact's home page. When adding a URL, include the full address and protocol. For example, http://www.blackboard.com. This link appears with the profile on the Contacts page.
- Select Submit.
Create or edit a contacts folder
- On the Create Folder page, select a folder name from the list or type a new name.
- Edit a folder by selecting Edit in a folder's menu.
- In the Text box, type a description.
- Select Yes to make the folder available.
- Select Submit.
Add a contacts link to the course menu
You can add a link to the course menu for instant access to the contacts tool. You can also customize the name of the link.
- Change Edit Mode to ON and select the plus sign above the course menu. The Add Menu Item list appears.
- Select Tool Link and type a name for the link.
- From the Type list, select Contacts.
- Select the Available to Users check box.
- Select Submit.
The new tool link appears last in the course menu list. Press and drag the arrows icon to move the link into a new position. Access the link's menu to rename, delete, or hide the link from students, or permit guests to access the link.
Contact Us
Chat with Tech Support Submit a Ticket Call 701-777-2222