Create journal entries
You and your students can create journal entries. You're the only one who can comment on students' private entries. You and group members can comment on group entries. On the Journals listing page, information is provided about each journal. Students can see if their entries are private—between the student and you—or public.
- On the Journals listing page, select a journal title.
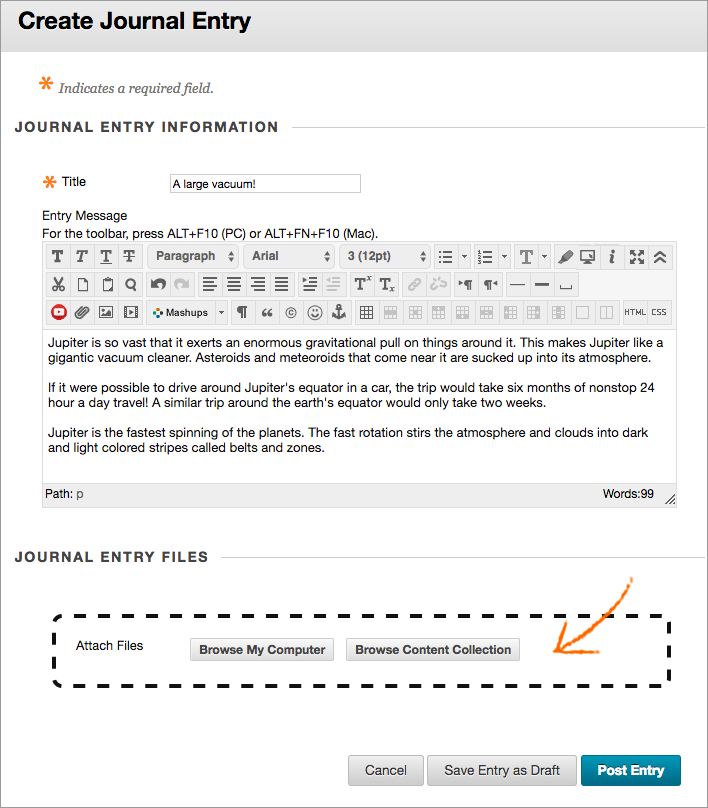
- On the journal's topic page, select Create Journal Entry.
- Type a title and entry.
Select Browse My Computer to upload a file from your computer. You can also attach a file from the repository: Course Files or the Content Collection.
-OR-
Drag files from your computer to the "hot spot" in the Attach Files area. If your browser allows, you can also drag a folder of files. The files will upload individually. If the browser doesn't allow you to submit your assignment after you upload a folder, select Do not attach in the folder's row to remove it. You can drag the files individually and submit again.
You won’t be able to drag files to upload if your institution uses an older version of Blackboard Learn.
You can use the file name or provide another name for the file.
- Select Post Entry to submit the journal entry or select Save Entry as Draft to add the entry later.
Comment on a journal entry
You and your students can use journals for essential interaction, especially in a web-based course. Student entries and your comments can help build rapport and create a healthy intellectual exchange.
A student can make a comment after you comment on an entry to continue the conversation. Students can't make comments on another student’s journal entry, even if you made the journal public. Students can only comment on another student’s entry when they're members of the same group. For group journals, you and all group members are allowed to make comments on individual entries.
- On the Journals listing page, select a journal title.
- Select the journal entry to view by selecting the user’s name in the list in the sidebar. The user's journal entry opens in the content frame.
- Select Comment below the user’s entry and type a comment.
- Select Add.
- To view all comments, select the numbered Comments link.

Contact Us
Chat with Tech Support Submit a Ticket Call 701-777-2222