Three types of columns
In the Grade Center, three types of columns appear: user, calculated, and grade. Each column has a menu with options. The options that appear vary depending on the type of column.
When you create or edit columns, you can select settings to display the data you want in the Grade Center. You also can hide and show columns, associate columns with categories and grading periods, and rearrange columns.
About user columns
In a new course, six default user columns appear in the Grade Center grid:
- Last Name
- First Name
- Username
- Student ID
- Last Access
- Availability
You can't delete or edit default user columns. You can hide all but the first user column in the grid. If you need to hide the first column, you can rearrange the user columns on the Column Organization page. But, at least one user column must show. You can also freeze user columns so that they remain in place as you scroll in the grid.
On the Users page, you can make a user unavailable. In the Grade Center, the User Unavailable icon appears in an unavailable user's column. However, the user's row isn't hidden in the grid. Unavailable users can't access your course.
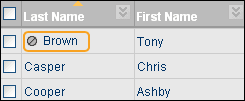
To sort a column, select the column heading. For example, you can sort the Last Access column. Users who accessed your course most recently appear first in the list. The sorted list remains in effect until you change it or log out.
External grade column
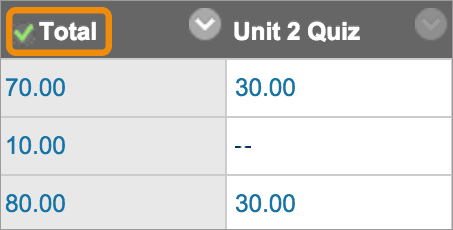
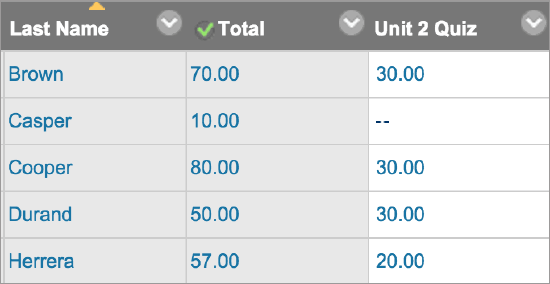
The results in the external grade column are shared with your institution as your students' grades for your course. You decide which column is set as the external grade. In new courses, the default total column is the default external grade column, and the External Grade icon appears in the column header. You can't delete the default total column until you set another column as the external grade.
To set the external grade, access a column's menu and select Set as External Grade. The External Grade icon appears in the column header you chose and no icon appears in the default total column header.
If you copy or restore a course, the external grade column you chose remains as the external grade column.
Menu options
Each column's menu displays options that are specific for that column.
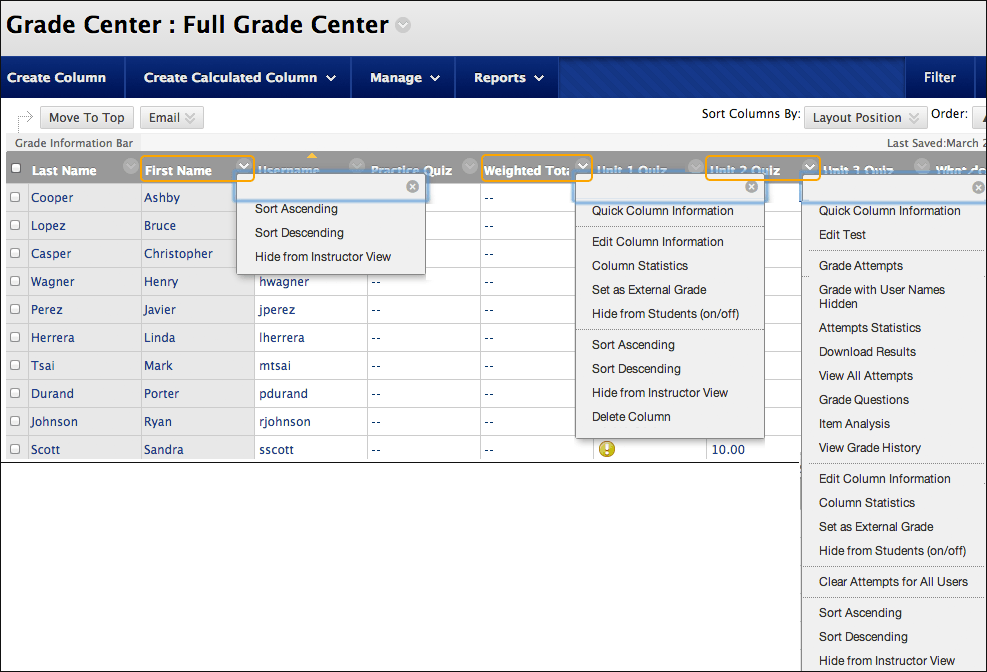
Use the options in a column's menu to hide a column from your view in the grid or from students' My Grades pages. When you hide a column from your students, you still see it in the grid.
In the Grade Center, you can't change the Item Name of columns created automatically for gradable items, such as tests and assignments. You can edit the name of a gradable item in your course and the name will change in the Grade Center.
On the Edit Column page for auto-created columns, you can type a different name in the Grade Center Name box. The name you provide appears on students' My Grades pages and in the Grade Center grid. But, the name of the item in your course isn't changed. Students may be confused when the names in My Grades and the names for gradable items in the course don't match.
Automatically created grade columns
When you create gradable items in your course, grade columns are created automatically in the Grade Center. You can edit a grade column to rename it, associate it with a different category, and associate it with a rubric and grading period. You can also determine if students will see the results in My Grades, and include or exclude the column in calculations.
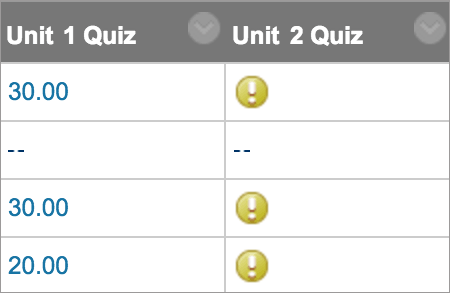
When students submit work that is ready for you to grade, a Needs Grading icon appears in their cells.
- Assignments: You can deliver assignments to individuals or groups.
- Surveys: Surveys are scored automatically by the system. When a student completes a survey, a Completed icon appears in the student's cell. To view survey results, access the column's menu and select Attempts Statistics. You can view the percentage of students who selected each answer. You can't view individual results as student responses are anonymous.
- Tests: Most test questions are scored automatically by the system. If you create a test that is comprised only of questions scored automatically, the grades appear in the students' cells. If you create a test that contains questions that you need to score manually, such as Essays, the Needs Grading icon appears in students' cells. You must grade those questions before the test results appear in the students' cells.
- Discussion board: If you enabled grading for forums or threads, you must manually grade submitted posts. When a group member submits a post in a graded group discussion board, the grade you assign is only for the individual member.
- Blogs, journals, and wikis: If you enabled grading, you must manually grade submitted entries and wiki contributions.
Manually created grade columns
You can create grade columns for activities that took place outside of class, such as a science fair or a juried art show. Or, you may assign credit for participation or attendance at an event. For manually added items, no submissions exist. The column is populated when you assign the grades.

- In the Grade Center, select Create Column.
- On the Create Grade Column page, type a brief name and an optional description. The name becomes the column name in the Grade Center and on students' My Grades pages. If the name is too long to display clearly in the Grade Center, add a shorter name in the Grade Center Name box. Only the first 14-15 characters appear in the column heading in the Grade Center grid.
- Make a selection in the Primary Display menu. The selection is the grade format shown in the Grade Center and to students in My Grades. If you created custom grading schemas, they appear in the list. Five default options appear:
- Score: A numeric grade is the default setting. If you don't make a selection, the score appears in the grid.
- Letter: A letter grade appears. The default grading schema is used to assign letter grades. For example, a score of 21/30 equals 70% and appears as a C.
- Text: Text appears in the column when you create and associate a text grading schema. Examples of text values include: Excellent, Very Good, Good, Fair, and Poor -OR- Satisfactory and Unsatisfactory. If no text grading schema exists, and you select the Text option, you can type text in the column's cells. If you choose to share the column results with students in My Grades, they see the text values for their grades.
You can convert a numeric score to text. But, if you don't create a custom text grading schema, and return to numeric scoring, values that can't be converted display a zero after conversion. If you want to include text as grades, we recommend that you create a text grading schema and associate it with the appropriate columns.
- Percentage: A percentage appears. For example, a score of 21/30 appears as 70%.
- Complete/Incomplete: When a student submits an item, a Completed icon appears in the column regardless of the score achieved.
- Optionally, make a selection in the Secondary Display menu. The default setting is None. In the Grade Center column, the secondary value appears in parentheses. The secondary value doesn't appear to students.
- Optionally, you can associate the column with a category. The default setting is No Category. Use categories to filter Grade Center data, create smart views, and create calculated columns.
- In the Points Possible box, type the total points. Entries must be numeric.
- If grading periods exist, you can associate the column with a grading period. If no grading periods exist, the menu doesn't appear. You can use grading periods to filter Grade Center data and create calculated columns.
- Optionally, provide a Due Date. You can use due dates with the Retention Center to generate an alert if a test or assignment isn't submitted on time. Due dates also appear on the course calendar.
- Select the Options:
- Include this Column in Grade Center Calculations: Select Yes to make the column available for potential inclusion when creating calculated columns.
- Show this Column to Students: Select Yes to display the column to students in My Grades.
- Show Statistics (average and median) for this Column to Students in My Grades: Select Yes to include statistical information with the grade value when shown to students.
When you edit the Grade Center column for a test, the options to Include this Column in Other Grade Center Calculations and Show Statistics (average and median) for this Column to Students in My Grades may not be available. The options are unavailable if you selected the option to Hide Results for this Test Completely from Instructor and the Grade Center on the Test Options page.
- Select Submit.
Contact Us
Chat with Tech Support Submit a Ticket Call 701-777-2222